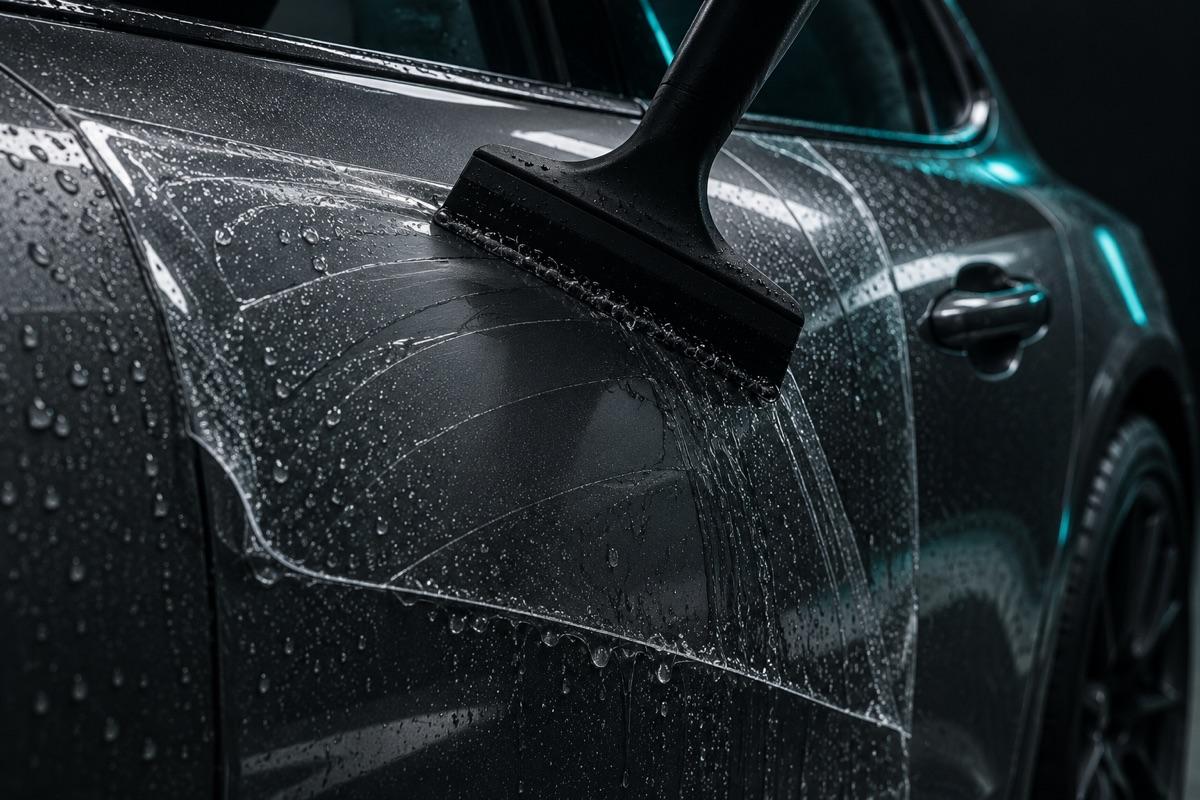
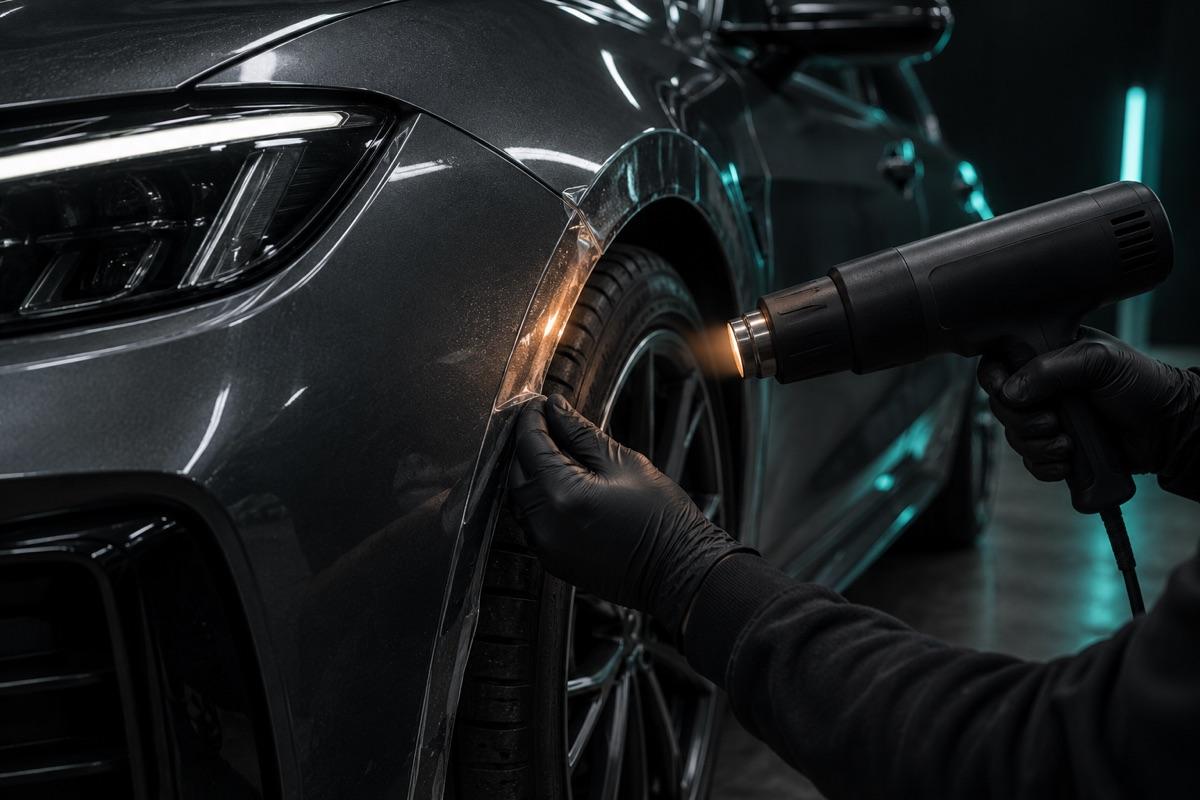
Every Kutfit kit follows the same wet-application process. There is no cutting on the car and no installer appointment. Use the installation map included with your kit for its exact panel layout.
Before you start
A clean, sheltered place to work
The supplied pre-cut film and installation map
Soft squeegee and clean microfibre cloths
Two clean spray bottles for slip and tack solution (not included)
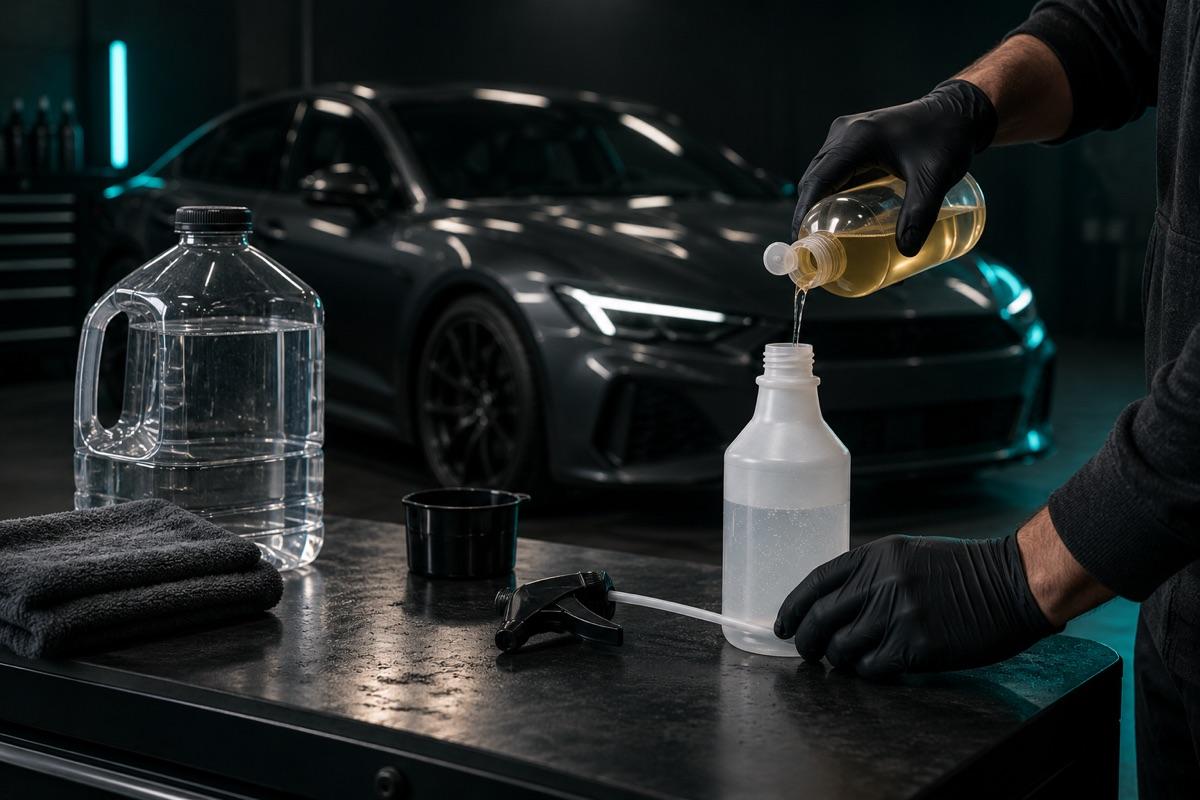
The kit includes the installation solution, which you mix with water, but no spray bottles. Have two clean bottles ready, and follow the film-specific instructions included in the package.
Apply your film
1
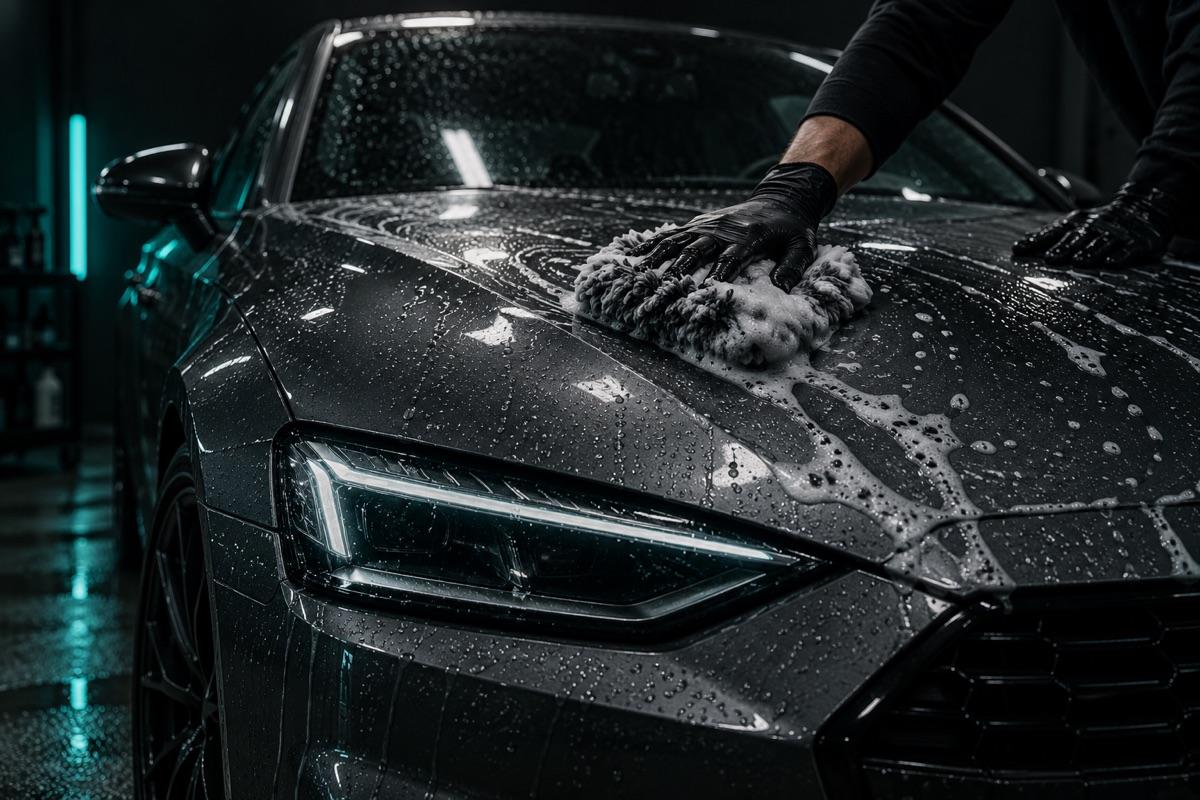
Clean the panel
Wash and decontaminate the paint so no dirt gets trapped under the film. Work in a clean, sheltered space.
2
Prepare your solutions
Mix the supplied installation solution with water as its label directs. Keep slip and tack solution in separate labelled spray bottles.
3
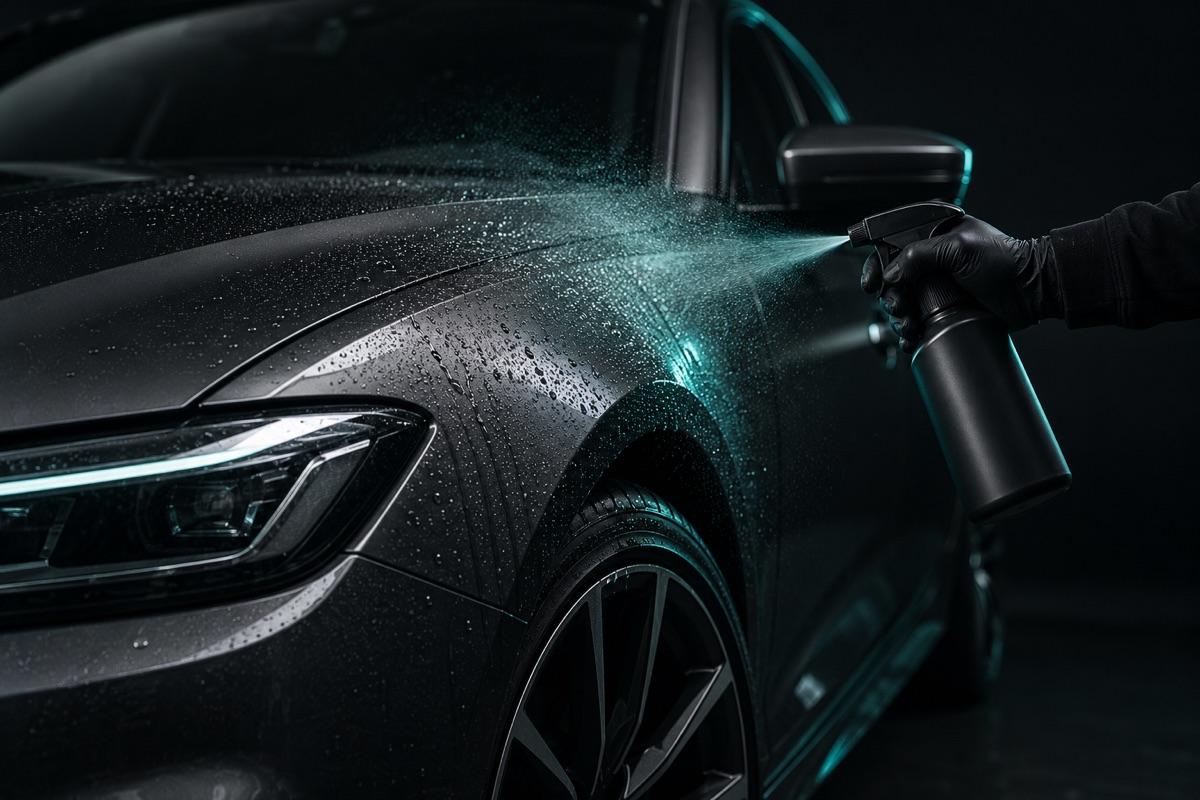
Wet the panel and film
Spray the panel, your hands and the adhesive side of the pre-cut piece. The film should be able to float into position.
4
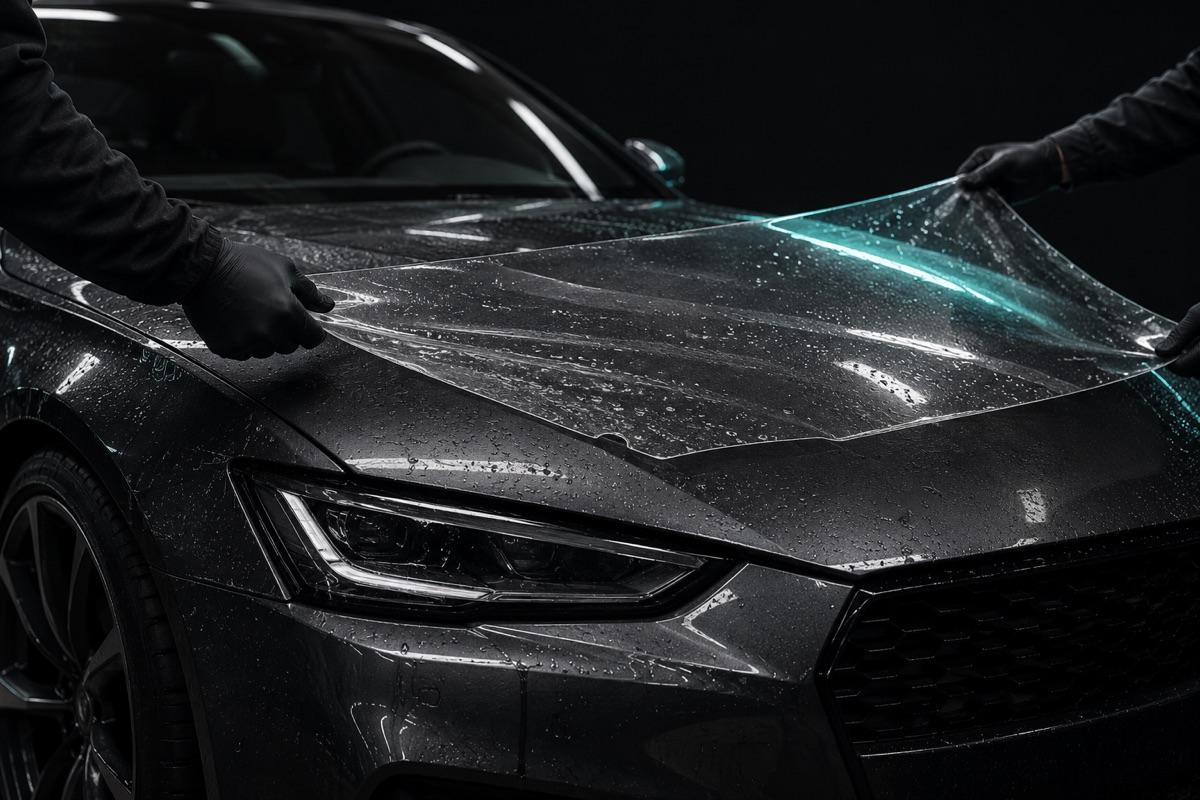
Match the installation map
Find each piece by the label on its liner, then use the map and the panel edges to align it before pressing it down.
5
Squeegee out the water
Anchor the centre, then work outwards in overlapping strokes. Lift and re-wet a section if it traps water or air.
6
Finish the edges
Use tack solution where the supplied guide calls for it, then squeegee the edges. Let the film settle before washing the car.
Ready for another look?
Remove the old film, then apply a new finish
1. Order the new film. Select the same car and panels in a different colour, or return to clear. A new look requires a new kit.
2. Warm and lift an edge gently. Work on a clean panel, soften the adhesive with gentle heat and peel the film back slowly at a low angle. Do not use a blade on the paint.
3. Clean and inspect the paint. Remove any remaining adhesive with a paint-safe product and clean the panel before wet-applying the new pre-cut pieces.
Repainted, repaired or loose paint may lift during film removal. Test a small edge first and stop if the paint moves with the film.